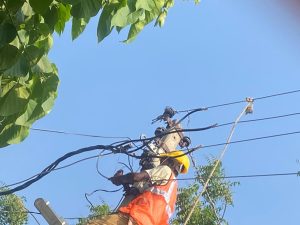

In this blog, you will learn how to install Insulation Piercing Connectors on MV Covered Conductors.

Note: Please use proper tools, procedures and personal protective equipment to avoid injury.
Also, ensure you follow these safety precautions:
- Disconnect the power supply before installation.
- Use only insulated tools and equipment.
- Confirm proper grounding of the pole and cross-arm assembly.
Identify the Correct Type of IPC
In this blog, we will be installing 2 types of IPCs
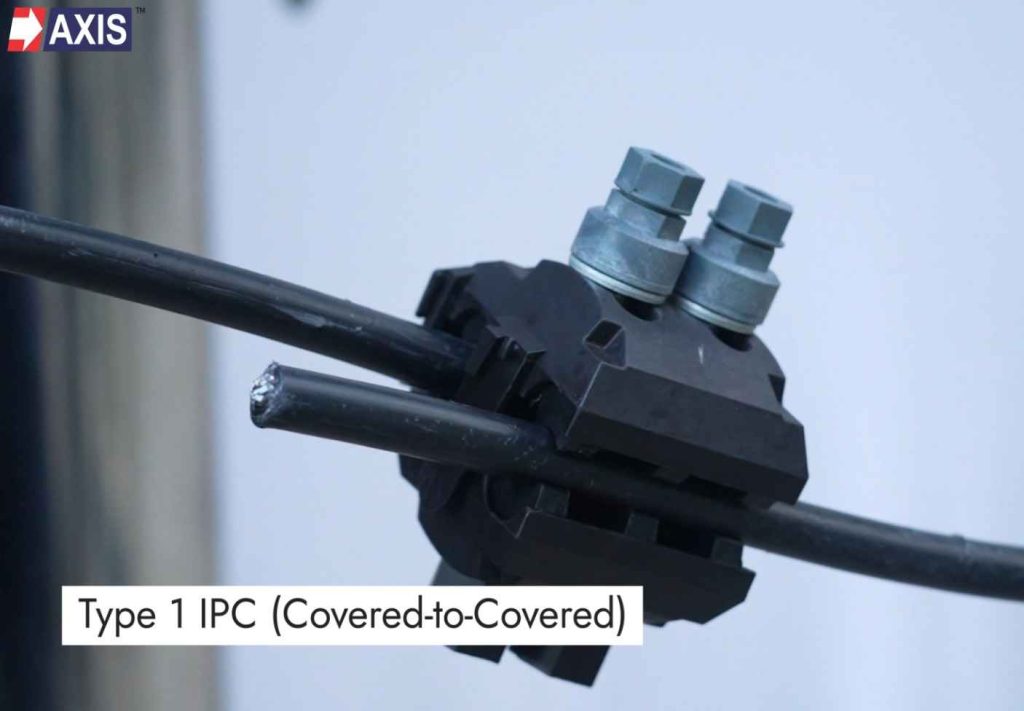
Type 1 IPC – Used for Covered-to-Covered Connections
Type 1 IPC creates branch or tap connections between two insulated covered conductors without removing their insulation. It is used to continue the line near the pole for tapping or creating network connections for extending the covered conductor system.
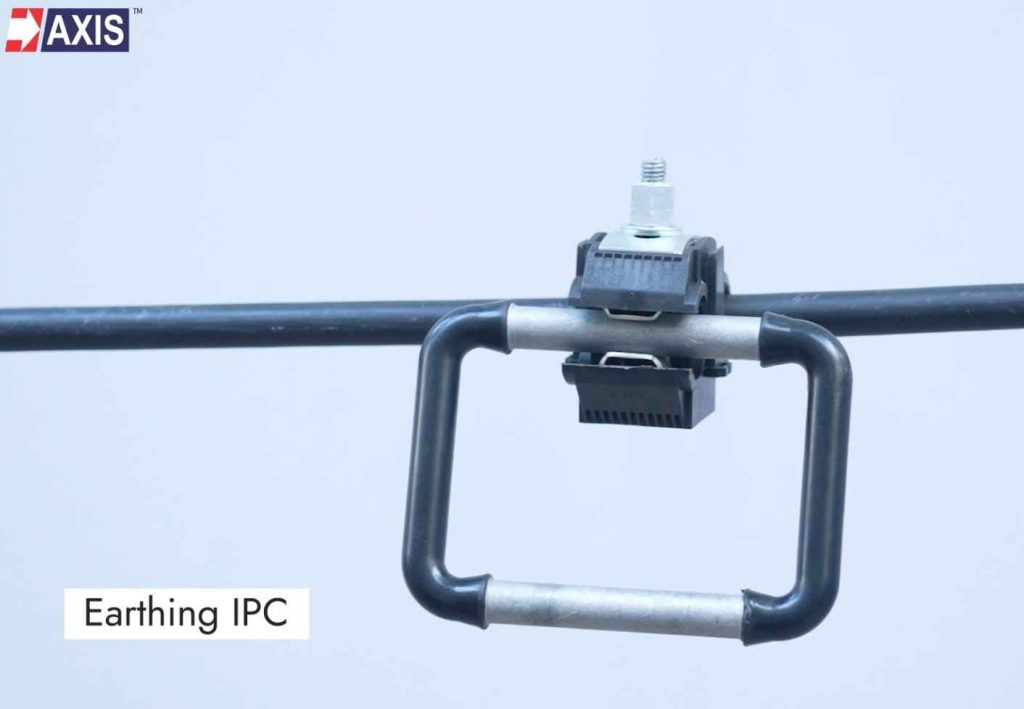
Type 2 IPC – Used for Earthing Connections
Earthing IPC grounds covered conductors to the earth during line maintenance, or to clear fault conditions.
Equipment and Tools Needed for Installation
- Selected IPC (As Per Application)
- Ratchet Spanners or Torque Wrench
- Insulated Gloves
Please conduct a Site Inspection before installation
De-Energize the Line:
- Confirm that the MVCC line is de-energized, check using a voltage detector.
- Follow lockout/tagout (LOTO) procedures to prevent accidental re-energization.
Inspect the Worksite:
- Ensure the work area is free of obstacles and meets safety regulations.
- Ensure the IPC matches the conductor sizes (main and tap) as specified by the manufacturer.
Talk to our engineers!
Installation of IPC for Covered-to-Covered Conductor
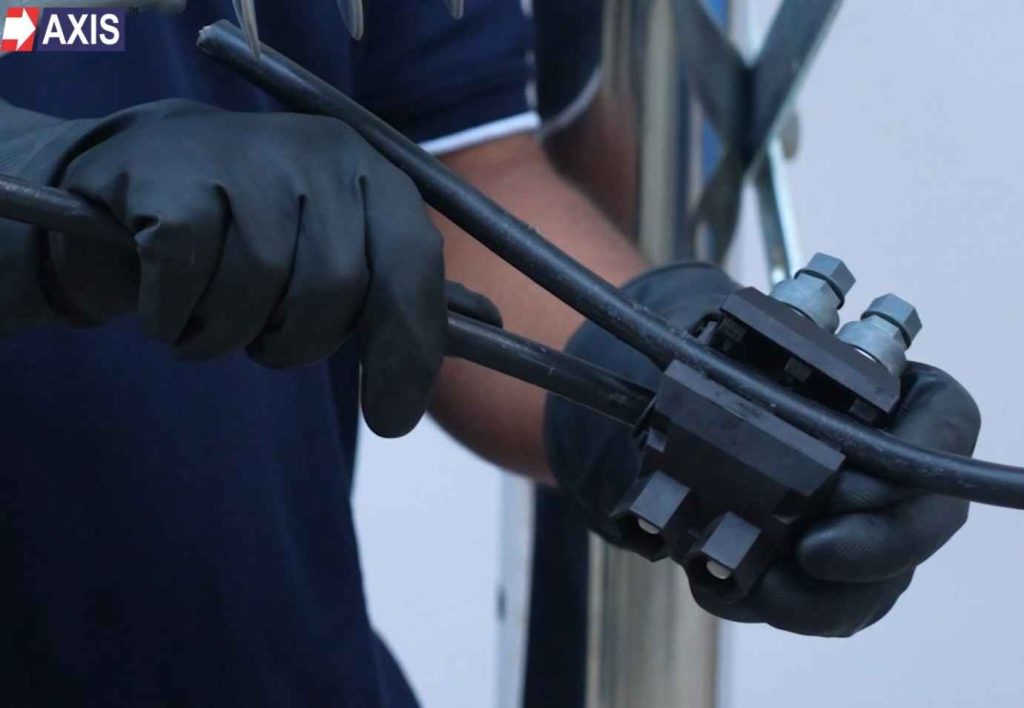
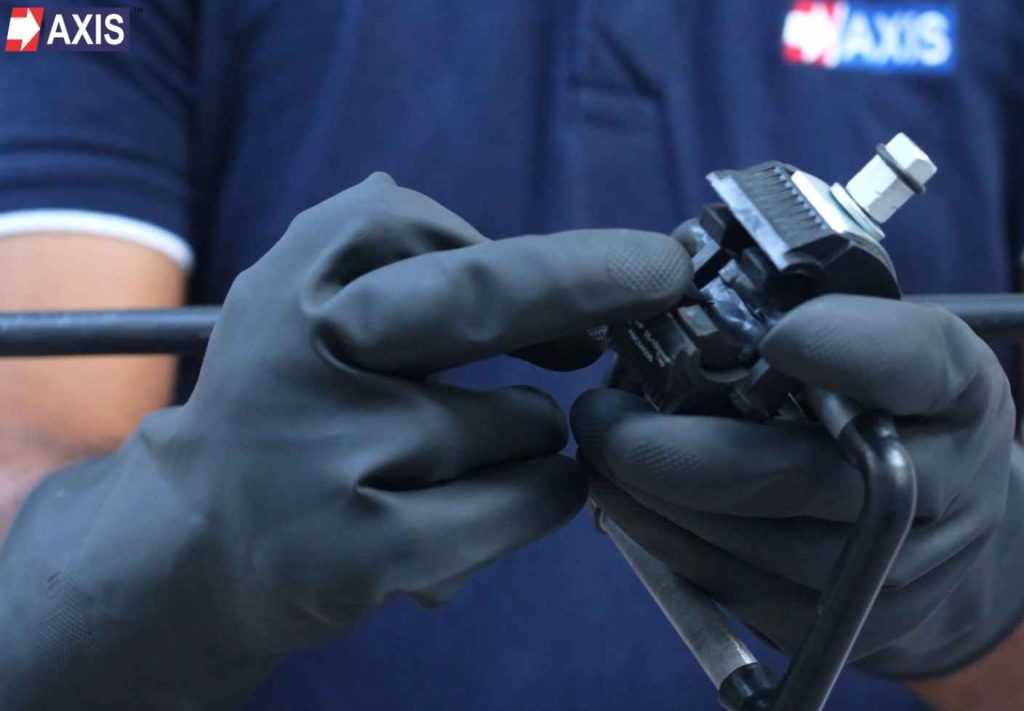
Step 1: Preparing the Main Cable
- Identify the main covered conductor for the IPC installation.
- Align the conductor with the main slot of the IPC, ensuring it fits in the IPC without stripping the insulation. Loosen the shear nut slightly if needed to accommodate the conductor diameter.
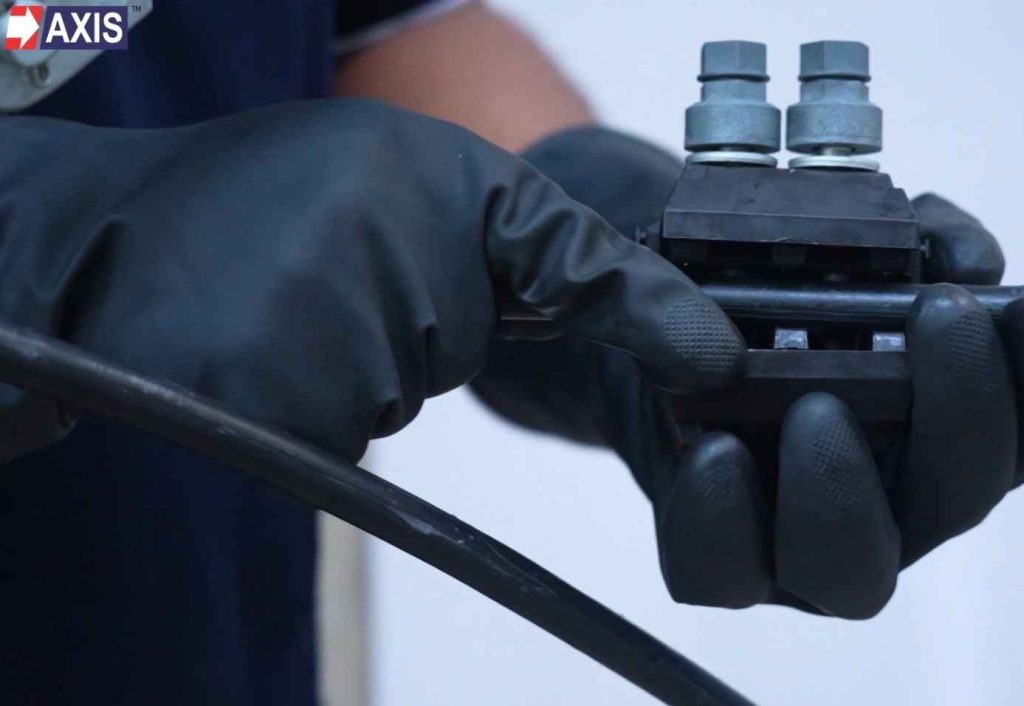
Step 2: Preparing the Tap Cable
- Select the tap cable (also known as branch conductor) as per the system design.
- Insert the tap cable into the tap slot of the IPC.
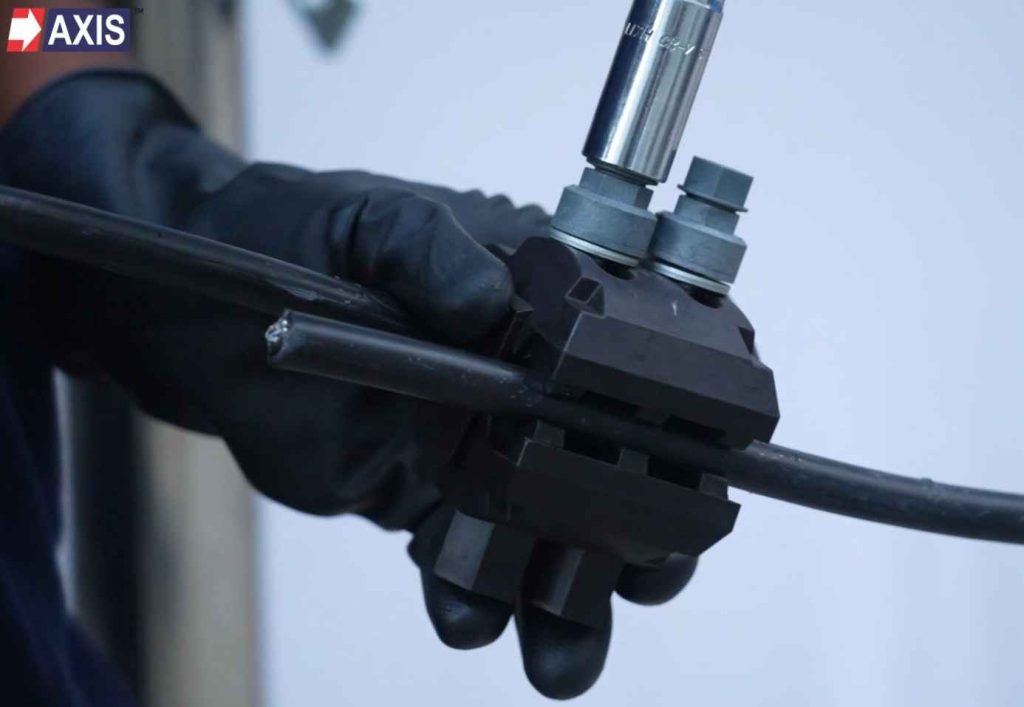
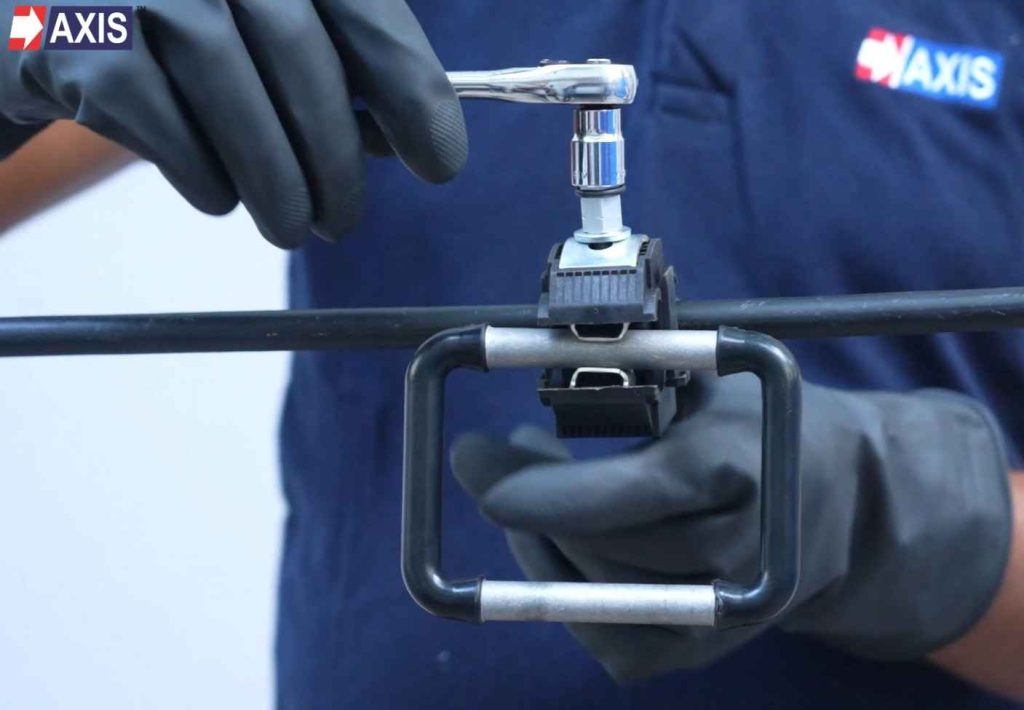
Step 3: Tighten the Shear Nut to Secure the IPC
- Use a Ratchet spanner or torque wrench to tighten the shear nut.
- Tighten gradually and ensure even pressure distribution.
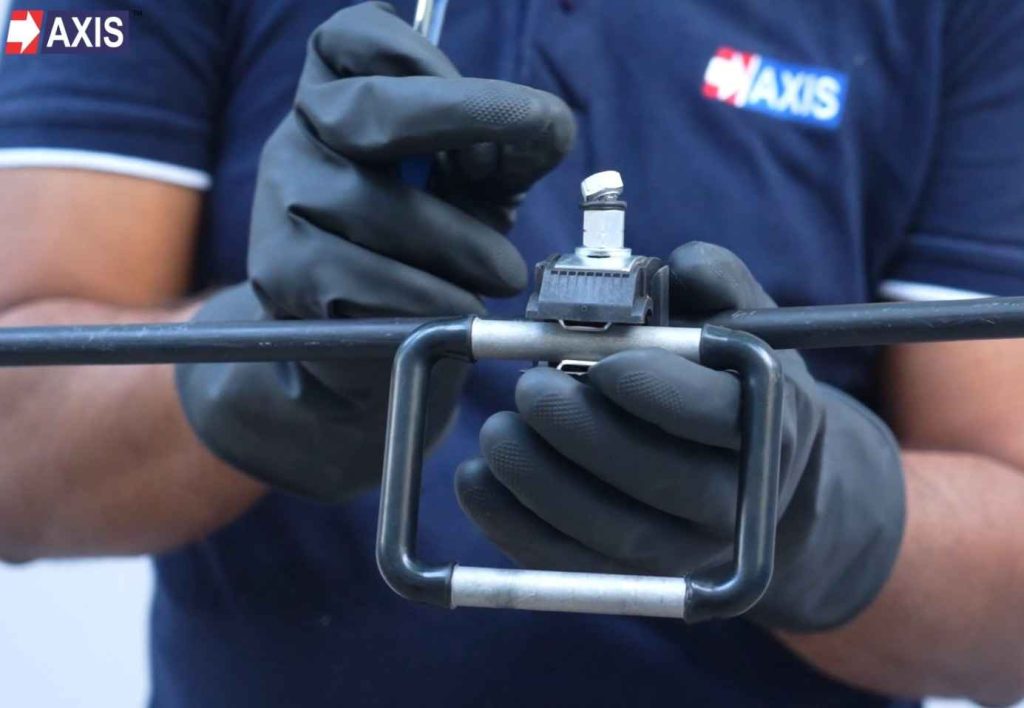
- Continue tightening until the top small hex head of the shear nut breaks off, ensuring a secure connection.
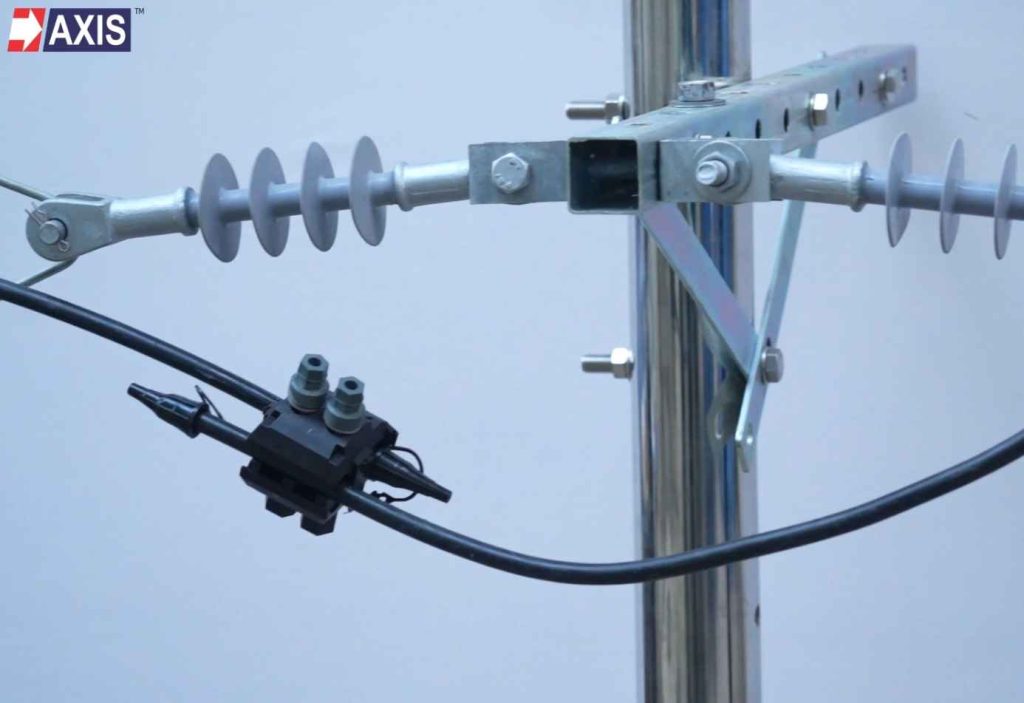
- Seal the open end of the cable with end caps. Ensure the cable end is fully sealed with the end caps.
You have successfully installed the IPC for Covered-to-Covered Conductor.
Installation of IPC for Earthing
Step 1: Preparing the Main Cable
- Identify the main covered conductor for the IPC installation.
- Align the conductor with the main slot of the IPC, ensuring it fits in the IPC without stripping the insulation. Loosen the shear nut slightly if needed to accommodate the conductor diameter.
Step 2: Tighten the Shear Nut to Secure the IPC
- Use a ratchet spanner or torque wrench to tighten the shear nut.
- Tighten gradually and ensure even pressure distribution.
- Continue tightening until the top small hex head of the shear nut breaks off, ensuring a secure connection.
Congratulations, you have now installed the IPC for Earthing Connection.
Watch this video to understand the IPC installation in detail
We hope you now have a clear idea about the installation procedure. If you have any doubts, reach out to us on our website axis-india.com. We have a team of 50+ engineers ready to help you design and install your next Covered Conductor Project.
You will find our products in various rural electrification projects all across South Asia, Africa and Latin America. Our automated inhouse manufacturing unit produces over 50.000 Insulation Piercing Connectors every single day.