- Disconnect the power supply before installation.
- Use only insulated tools and equipment.
- Confirm proper grounding of the pole and cross-arm assembly.
Tools & Equipment:
- Anchoring Clamp
- Insulator
- Fixing Assembly (Mounting D Iron Bracket, Bolts, Nuts and Washers)
- Suitable Spanner
- Insulated Tools (Mallet Hammer, Pliers)
- And Personal Protective Equipment
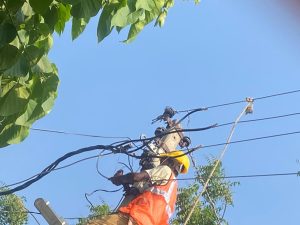
Site Inspection:
Before starting the installation, conduct a site inspection
- Verify that the pole, cross-arm, and mounting structures are in good condition and properly fixed for safe electrical applications.
- Double-check that the insulator, fixing assembly, and anchoring clamp are compatible with the covered conductor.
- Ensure your accessories are suitable for the covered conductor and confirm that they meet all required specifications like diameter and insulation.
Installation Process:
Step 1: Install the Fixing Assembly on the Cross-Arm.

Step 2: Securing Polymer Insulator
Attach the polymer insulator to the cross-arm using mounting hardware like D iron bracket, bolts, nuts and washers. Secure the polymer insulator firmly and ensure proper vertical and horizontal alignment.


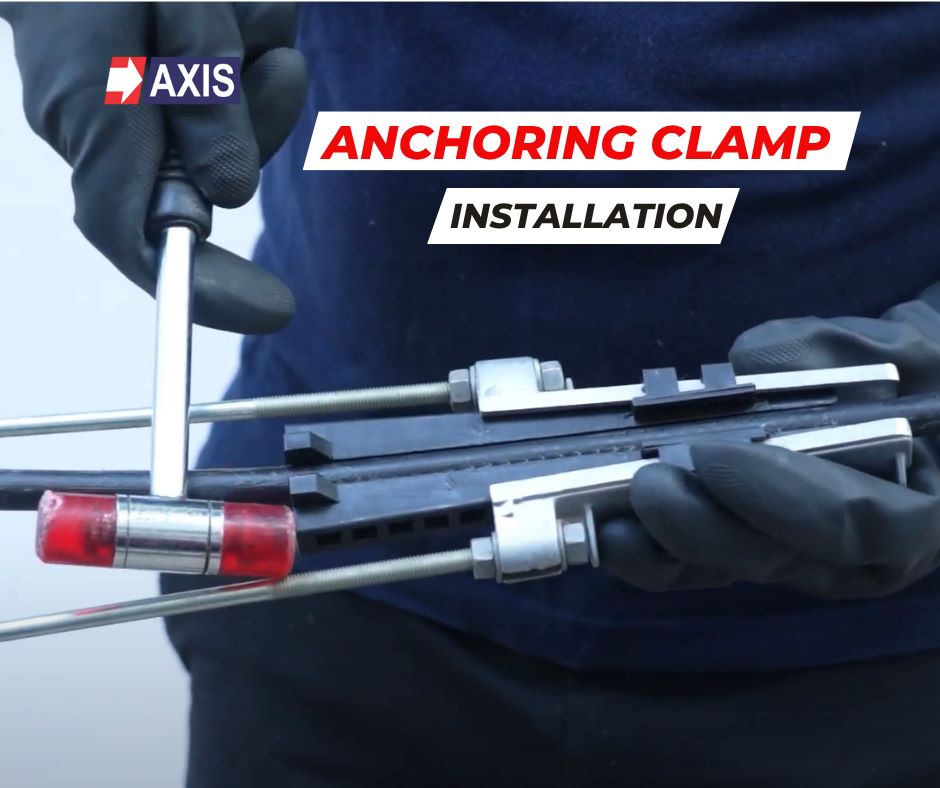
Step 3: Anchoring Clamp Installation
Install the Anchoring Clamp. Mount the clamp on the insulator using the fixing assembly, align it to match the direction of the conductor path, and tighten all bolts and fasteners as per the manufacturer’s suggested torque.


Note: Clean the conductor section to be anchored, then trim it to the desired length, leaving adequate slack for tension adjustment.
Talk to our engineers!
Step 4: Conductor Placement
Loosen the polymeric wedges, place the conductor between them, and gently slide the wedges down so they grip the conductor. If needed, tap the top of the wedges with a mallet to ensure a firm hold.


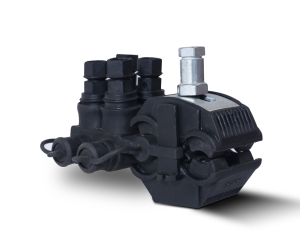
Step 5: Fix the Insulation Piercing Connector (IPC) on the conductor.
Check the entire assembly for proper alignment and secure fastening. Confirm the conductor is correctly seated and the insulator is firmly attached.


Step 6: Pull the conductor to the required tension as specified in the project design, ensuring proper sag and alignment with adjacent spans.
You have successfully installed the anchoring clamp on the covered conductor